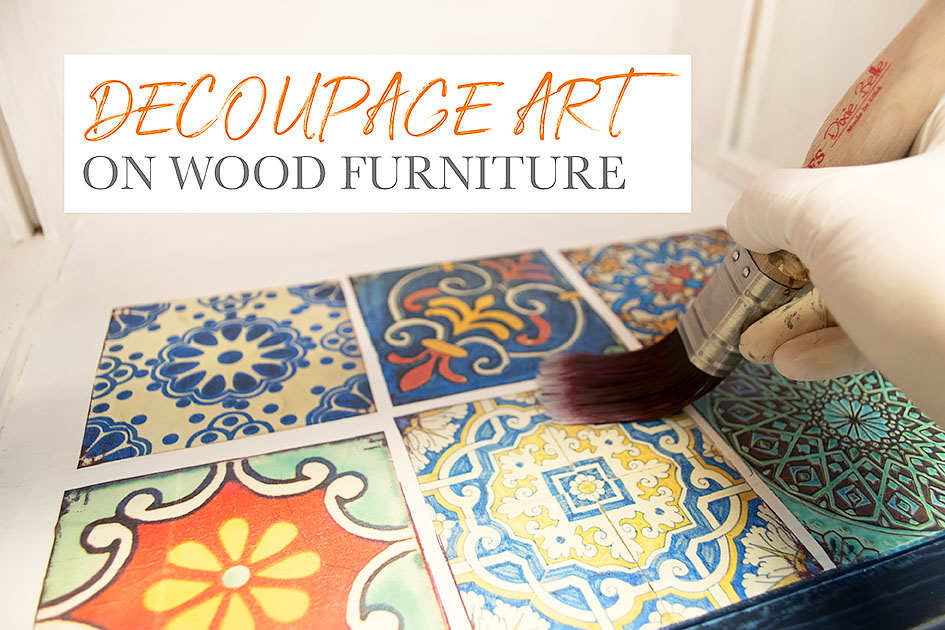
Decoupage is the art of decorating surfaces by gluing paper or fabric cutouts onto them and coating them with layers of varnish or glue. When done on wood, it adds charm and a personalized touch to furniture, signs, boxes, and more.
What You’ll Need:
- Wood surface (box, tray, sign, furniture, etc.)
- Sandpaper (medium and fine grit)
- Decoupage glue/mod podge (matte or gloss)
- Paintbrush or foam brush
- Decorative paper/napkins/fabric (scrapbook paper, tissue paper, napkins)
- Acrylic paint (optional for background color)
- Clear sealer (polyurethane or more Mod Podge)
- Scissors/X-acto knife
- Sponge or brayer (to smooth out bubbles)

Step-by-Step Guide
1. Prep the Wood
- Sand the surface smooth using medium, then fine grit sandpaper.
- Wipe off dust with a dry or slightly damp cloth.
- Optionally, paint the wood with acrylic paint as a base color. Let it dry completely.
2. Cut Your Paper
- Choose your design and trim your paper or napkin to fit the wood surface.
- If using napkins, separate the printed top layer from the backing.
3. Apply the Glue
- Use a brush to spread a thin, even coat of Mod Podge or decoupage glue over the wood where your paper will go.
4. Attach the Paper
- Carefully lay your cutout on the glued surface.
- Smooth out bubbles and wrinkles using a sponge, brayer, or your fingers (from the center outwards).
5. Seal It
- After the paper dries (10–20 minutes), apply another thin coat of Mod Podge on top of the paper.
- Let dry and repeat 2–3 times for durability.
6. Optional Finishing
- Once everything is fully dry (wait 24 hours for best results), sand lightly to smooth edges or excess paper.
- Apply a clear polyurethane sealer for extra protection, especially for furniture or kitchen use.
Review & Tips
| Feature | Rating | Notes |
|---|---|---|
| Ease of Use | ⭐⭐⭐⭐☆ | Simple with a little practice |
| Cost | ⭐⭐⭐⭐⭐ | Very affordable DIY |
| Durability | ⭐⭐⭐⭐☆ | Long-lasting with sealer |
| Creativity | ⭐⭐⭐⭐⭐ | Unlimited customization |
| Beginner-Friendly | ⭐⭐⭐⭐☆ | Just start with small pieces |
Tips:
- Use thinner papers (like napkins or tissue) for easier smoothing.
- Avoid over-brushing wet paper — it can tear.
- Seal edges well to prevent peeling over time.
- Try vintage book pages, maps, or printed photos for a unique look.

Ideal Projects for Wood Decoupage:
- Personalized signs or nameplates
- Jewelry boxes or wooden trays
- Furniture accents (e.g., drawer fronts)
- Seasonal decorations (e.g., Christmas plaques)

FAQs
What is the best glue for decoupage on wood?
The most popular choice is Mod Podge, a decoupage-specific glue, sealer, and finish in one. You can also use PVA glue (like Elmer’s) mixed with a bit of water, but Mod Podge offers better results and finishes.
Do I need to sand the wood before decoupaging?
Yes. Sanding the wood makes the surface smooth and helps the glue adhere better. Always sand in the direction of the wood grain and wipe off dust before applying glue.
Can I decoupage on painted wood?
Yes, but make sure the paint is fully dry (preferably 24 hours dry time) before applying glue and paper. Use acrylic paint for the best results.
What kind of paper works best for decoupage on wood?
Best for beginners: Scrapbook paper or printed tissue paper
Advanced use: Napkins (thin, tear easily but look delicate)
Avoid thick or coated paper (e.g., photo paper) unless using special techniques.
How do I prevent wrinkles and bubbles in the paper?
Apply a thin, even layer of glue.
Use a brayer, sponge, or plastic card to gently smooth the paper from the center outward.
Work slowly and avoid overworking the paper when it’s wet.
How many coats of Mod Podge do I need?
For durability, apply 2 to 3 coats of Mod Podge over the paper, letting each coat dry fully (15–30 minutes) before applying the next.
Do I need to seal decoupage on wood?
Yes, especially for items that will be handled frequently. Use:
Mod Podge (final coat)
Spray sealers (clear acrylic)
Polyurethane (for furniture or water-resistance)
Can I decoupage photos onto wood?
Yes, but use laser-printed photos (not inkjet unless sealed beforehand) and consider printing on thinner paper for easier adhesion.
READ ALSO: Textured Wall Paint guide
Hello!
I am Ann Armstrong.
The kitchen is the universe of the home.
The beautiful furniture and amazing design of the dining room have always inspired me.
All the best ideas for transforming the kitchen throughout my life were born from
the greatest difficulties. And I know that’s what makes my projects special.


Leave a Reply